Image processing systems have an ever increasing significance in the Automation industry. Industrial image processing is a measuring and testing method, which in addition to the inspection of surfaces geometrical dimensions, and especially in the Quality assurance is becoming more and more important. This leads to ever higher quality level with the lowest possible failure and Complaint rates.
The great advantage of industrial image processing, compared to manual inspection is that it is contactless, fast and with high repeatability can make good/bad statements, which also can be documented.
A 100-percent control by employees is usually uneconomical and in principle, this also leads to a number of ok Parts rejected as error (pseudo error) and some errors not safe recognized.
Only with a 100-percent check with industrial image processing, any sporadic error can also be detected if it was previously defined and taught-in accordingly. In contrast to the human eye, image processing systems provide objective Assessment of the actual condition without fatigue or Lack of concentration. Also the speed with which such a system works, a human being cannot afford. Inline production tests with up to 100 frames / second are not uncommon.
M.A.i use image processing components for the following tasks:
- Contour checks
- 3D-measurement (height course)
- Gap dimension tests
- Measurement
- Check for presence or completeness
- Inspection of surfaces
- Worker instructions in Poka-Yoke manual workstations
- Coordinate transformation for robot applications
- Localization/position detection
- Reading of 1D and 2D codes
- OCR (text recognition)

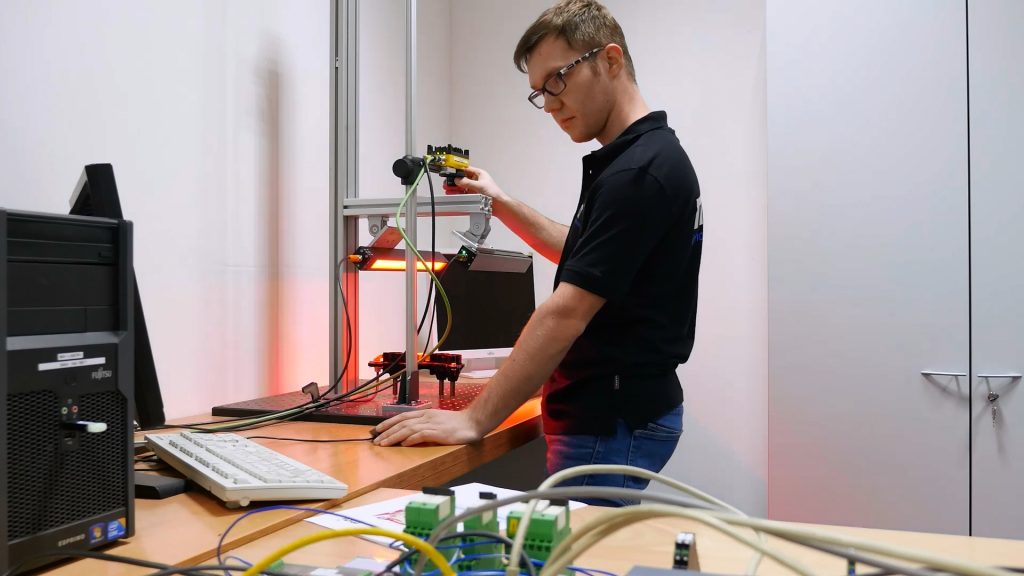
Figure 1: shows one of our employees setting up a camera and selecting the best lighting concept
Most frequently we use so-called intelligent camera systems is inserted. Intelligent cameras offer the possibility to of applications in a particularly fast and simple way to realize. They are an elegant solution where sensor, processor and I/O in a single compact housing.
If the requirements demand it, we use PC systems or special camera controllers. The advantage of PC systems is that to be able to combine several cameras, higher computing power and more to have available working memory and to use other measuring or to include control tasks. Also the documentation of the measurement and Test results are realized by means of a PC system.
Additionally it is possible to access via remote maintenance interfaces to maintain the image processing software independent of the place of use and and location-independent changes to the control and test software. With the help of the image processing software the measurement results can be displayed graphically on the monitor and provide an overview of the setpoint/actual values.
The requirements of our customers and the fast reaction time to Requests for quotations prompted us to set up our own test laboratory. This enables us to work independently and autonomously from suppliers to make reliable statements about the feasibility of the application Since the end of 2014, our in-house image processing laboratory Preliminary investigations, feasibility studies and functional tests for required tasks. Here it is possible for us to carry out various systems with each other, to compare the lighting concept to and put together the best system for your application. With the experience from the preliminary investigations we support our Sales or the mechanical and electrical design in advance in the preparation of the machine concept.
Also our customers have the possibility to request investigations to be performed at our house. We are pleased to advise you.
At present we employ five employees whose tasks include consists of designing, integrating and programming image processing systems.
Image Descriptions

Figure 2: The camera is set up and tested using sample parts. The test result is visually displayed on a monitor.

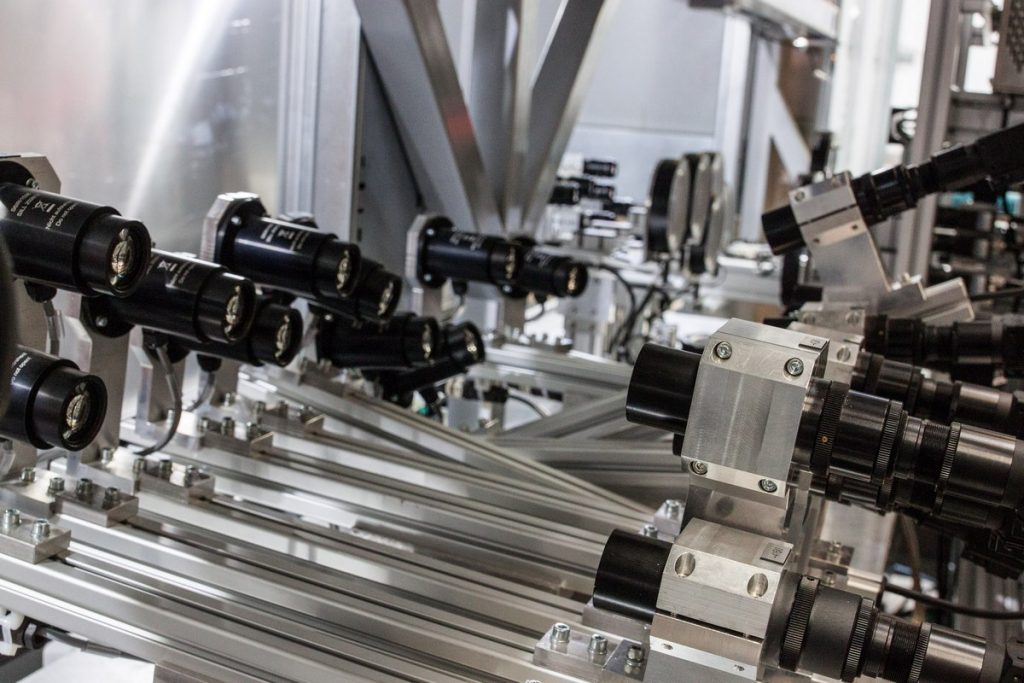
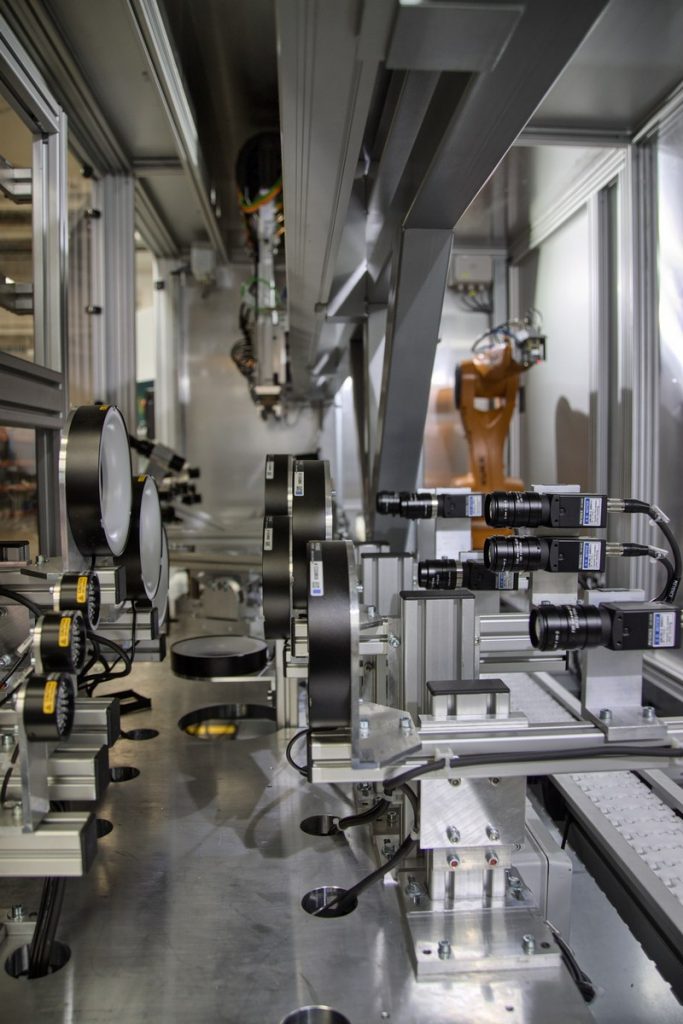
Figure 3: shows a compact test track with several cameras, used in an assembly line

Figure 4: shows a camera inspection station with associated lighting concept

Figure 5: shows a possible visual display of the measurement/test results on several monitors

